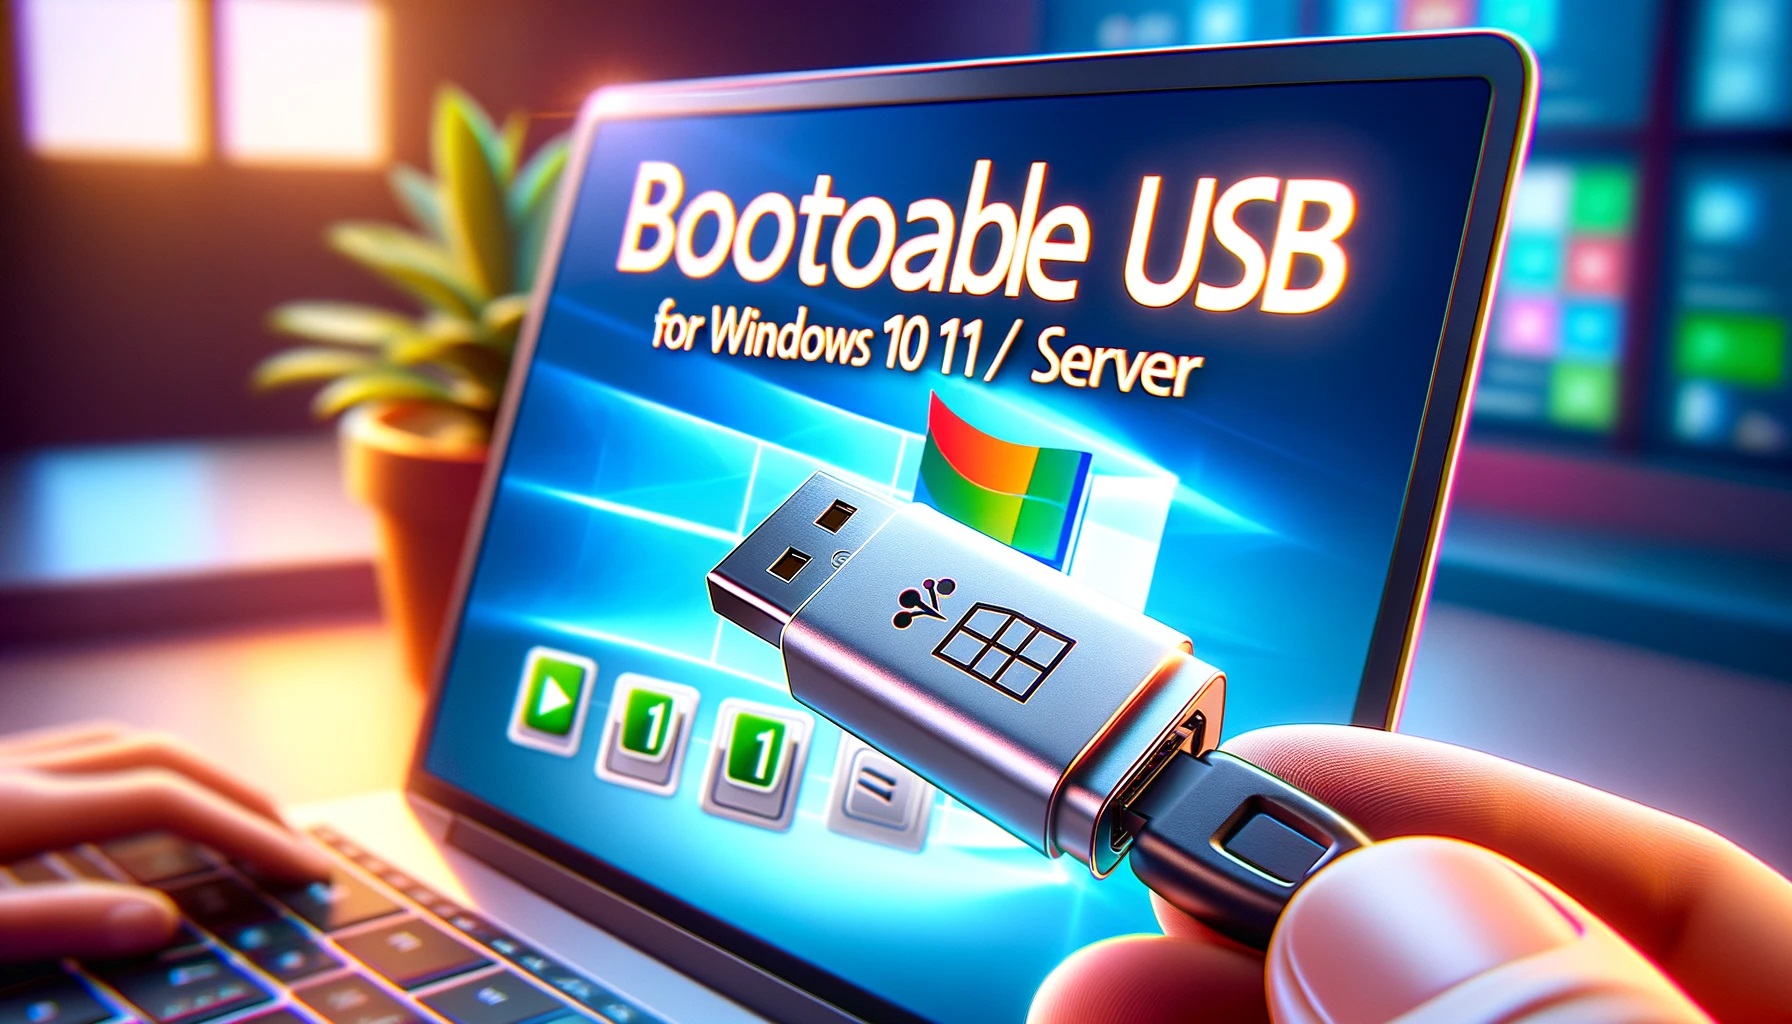
Step-by-Step Guide to Make a Bootable Pendrive Using Rufus Software
Below are the steps to download and install Rufus software.
Step 1: Download Rufus Software
- Open any browser like Google Chrome, Microsoft Edge or Mozilla Firefox. and search for rufus software as shown in the below pic.Click on the first link or visit the official Rufus website by clicking here.
- Scroll down to the Download section and click on the latest version of Rufus to download either x64 bit version or x86 bit version of setup file.
- Once downloaded, double-click the file to launch Rufus (no installation required as it is a portable tool).


Once download is completed, run the Rufus software as an administrator.

Step 2: Prepare Your Pendrive
- Insert the pendrive into your computer’s USB port.
- Make sure the pendrive has at least 8 GB of free space (for most operating systems).
- Back up any important data on the pendrive because all data will be erased during the process.
One can see below that it has automatically detected my 16GB pendrive which is connected to my laptop.
You can buy a USB/Type-C pendrive from Amazon website by clicking here.

Step 3: Open Rufus
- Launch the Rufus application. You will see a simple interface with various options.
- Rufus will automatically detect the connected pendrive. Ensure your pendrive is selected in the Device dropdown.
Step 4: Select the ISO File
- Click on the SELECT button next to the “Boot selection” field.
- Browse to the location of the operating system’s ISO file (e.g., Windows or Linux). Select the file and click Open.

Specify the location of the image, and select the .iso file as shown in the below screenshot.

Step 5: Configure Partition Scheme and File System
- Partition Scheme:
- Choose MBR (Master Boot Record) if you are booting the system in BIOS mode or GPT (GUID Partition Table) for UEFI mode.
- Refer to your system’s specifications to determine the correct partition scheme.
- File System: Leave it as NTFS (default) unless specified otherwise by the operating system requirements.
- Leave the Cluster size to the default value.

Step 6: Customize Volume Label (Optional)
- In the Volume label field, you can leave it as it is or rename it (e.g., “Windows Boot” or “Linux Setup”) for easier identification.
Here I have selected the partition scheme as MBR and have kept the volume label as it is.
Step 7: Start the Bootable Pendrive Creation Process
- Once all the settings are configured, click the Start button at the bottom.
- Rufus will display a warning message that all data on the pendrive will be erased. Confirm by clicking OK.
Once the above configuration is complete, click on the Start button, and you will see the prompt below. Enter the username as ‘admin’ or the owner’s name, check all four checkboxes to: create a local account with the username, set regional options, disable data collection to skip privacy questions typically asked during Windows OS installation, and disable BitLocker automatic device encryption.
These are optional settings, so you can skip them if desired.

Once done, click on the OK button. Make sure there is no data on the pendrive, as it will be deleted.

Step 8: Wait for the Process to Complete
- Rufus will now begin creating the bootable pendrive.
- You can monitor the progress in the status bar at the bottom of the Rufus window.
- This process might take a few minutes, depending on the speed of your pendrive and system.
In the screenshot below, you can see that the process has started, and the pen-drive is being made bootable.

Step 9: Completion and Safe Removal
- Once the process is finished, you will see a “Ready” message in Rufus.
- Close Rufus and safely eject your pendrive by clicking the Safely Remove Hardware icon in the system tray.
So finally, the bootable pendrive using rufus software is now ready.

Step 10: Test Your Bootable Pendrive
- Insert the pendrive into the target system where you want to install the operating system.
- Restart the system and enter the BIOS/UEFI settings by pressing the respective key (e.g., F2, F12, DEL, or ESC) during startup.
- Change the boot priority to USB and save the settings.
- Reboot the system, and it should boot from the pendrive, launching the operating system installation process.
Pro Tips:
- Ensure your ISO file is not corrupted by verifying its checksum.
- Use a high-quality USB 3.0 pendrive for faster performance.
- For Linux users, you can use Rufus to create a bootable pendrive compatible with almost any distribution.